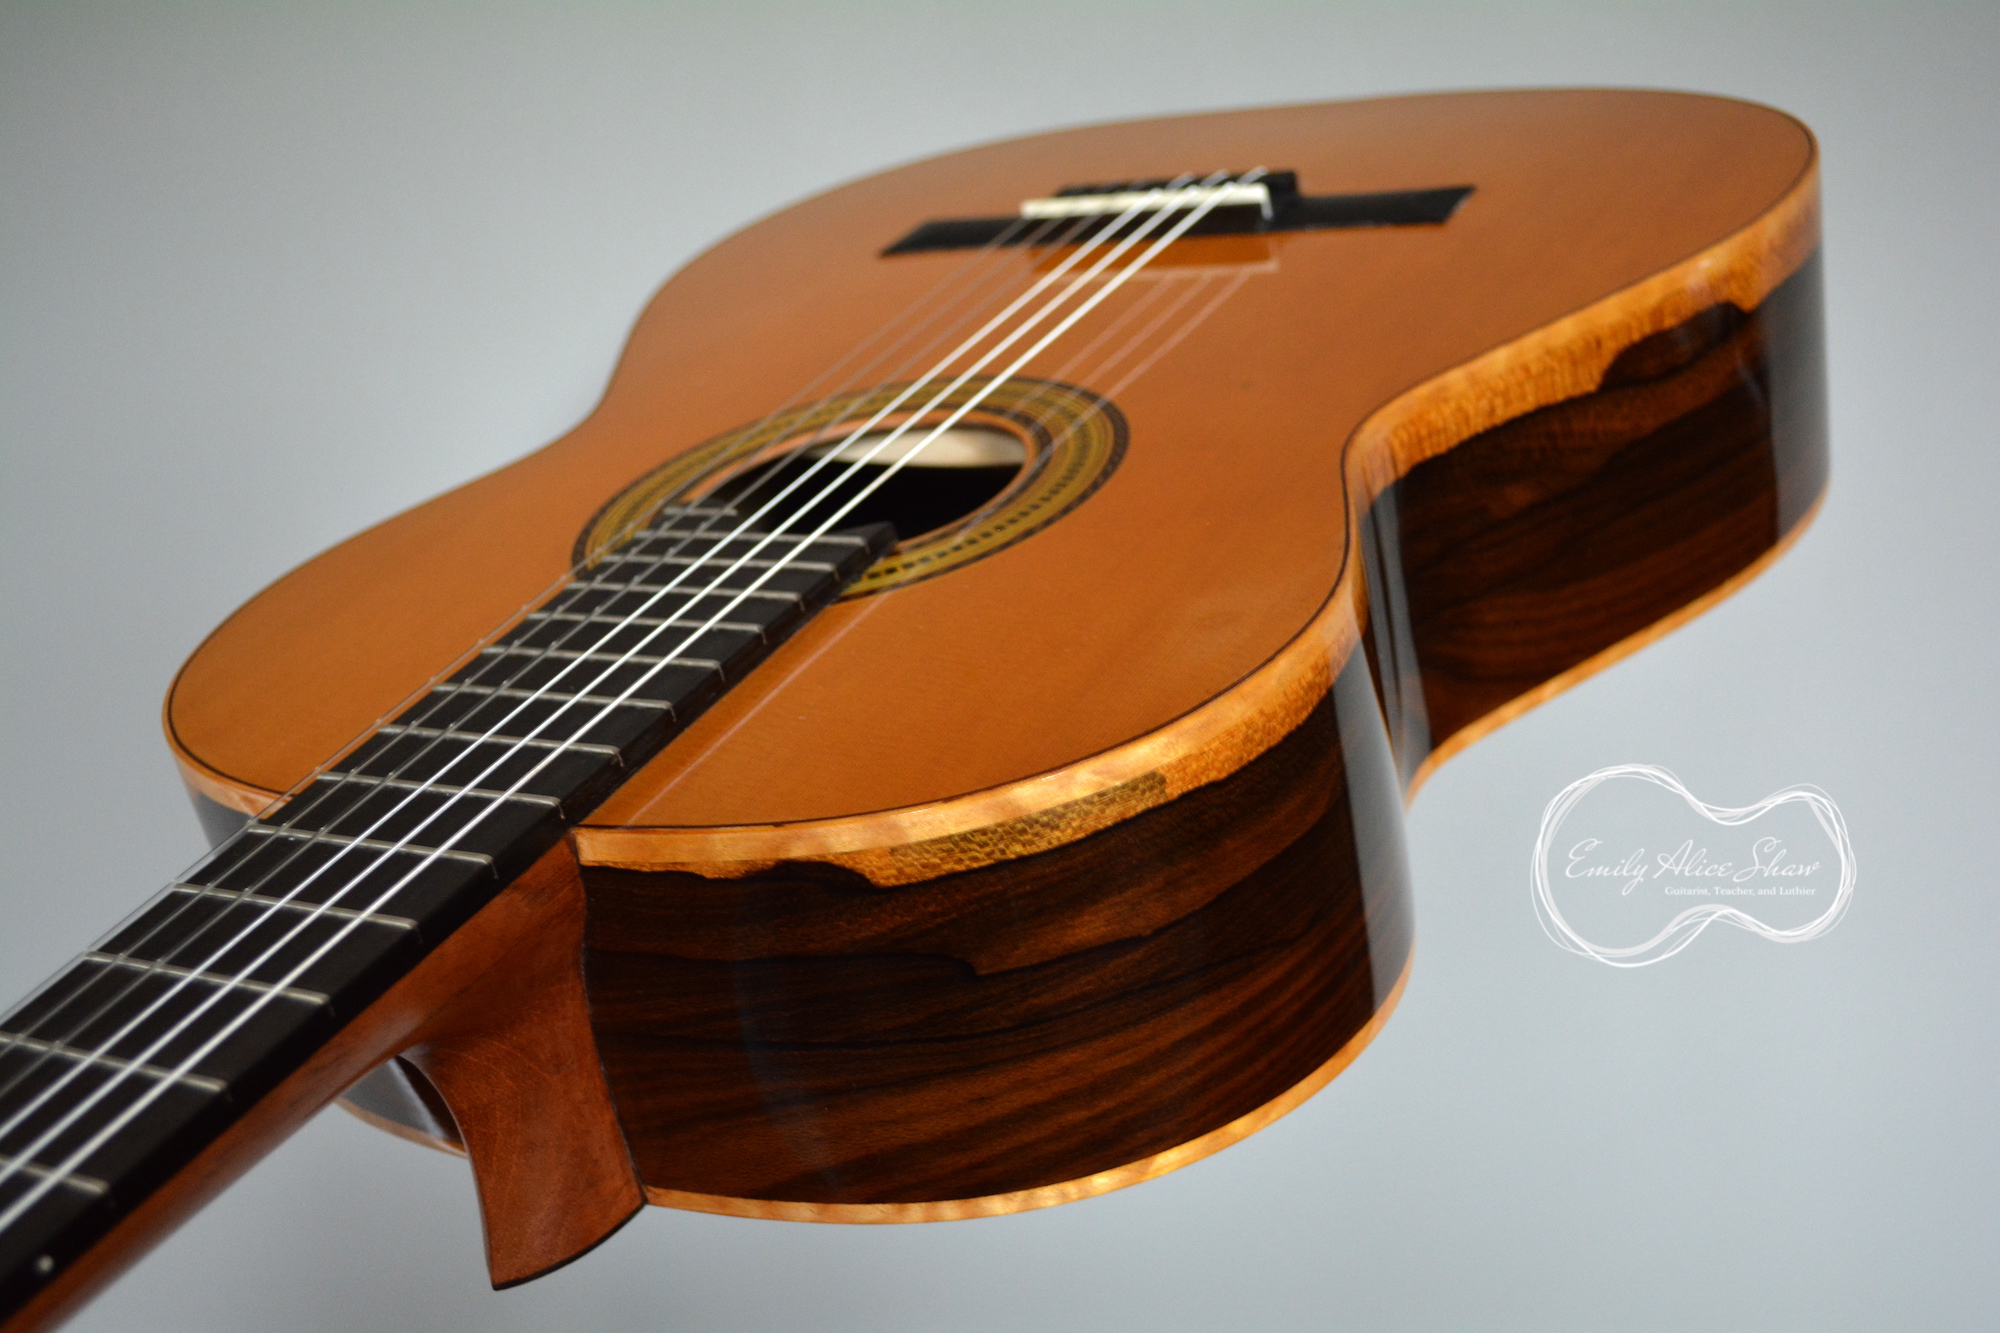
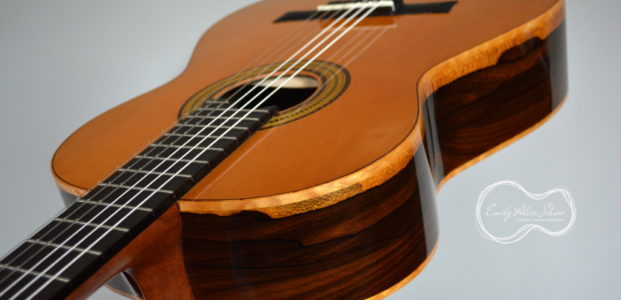
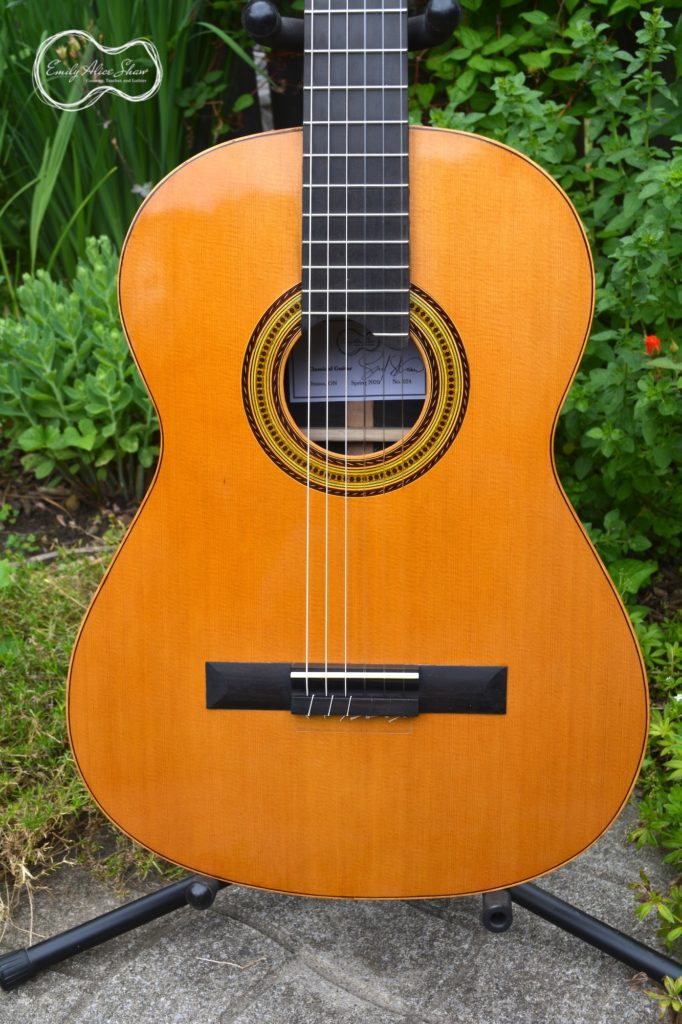
It took longer than I had hoped, but I finally finished both of the guitar that I have been working on for the past few months. To recap, both guitars are cedar-topped, lattice-braced classical guitars. Guitar No. 024 is a full scale, 650mm instrument with Ziricote back and sides, and Guitar No. 026 is a shorter scale 630mm instrument with Ebony back and sides. They both ended up sounding really nice—strong basses with lots of volume. I don’t think that the 630mm guitar was any quieter that the 650mm—if anything, it seemed louder because I put a sound port in the side of that guitar.
Guitar No. 024
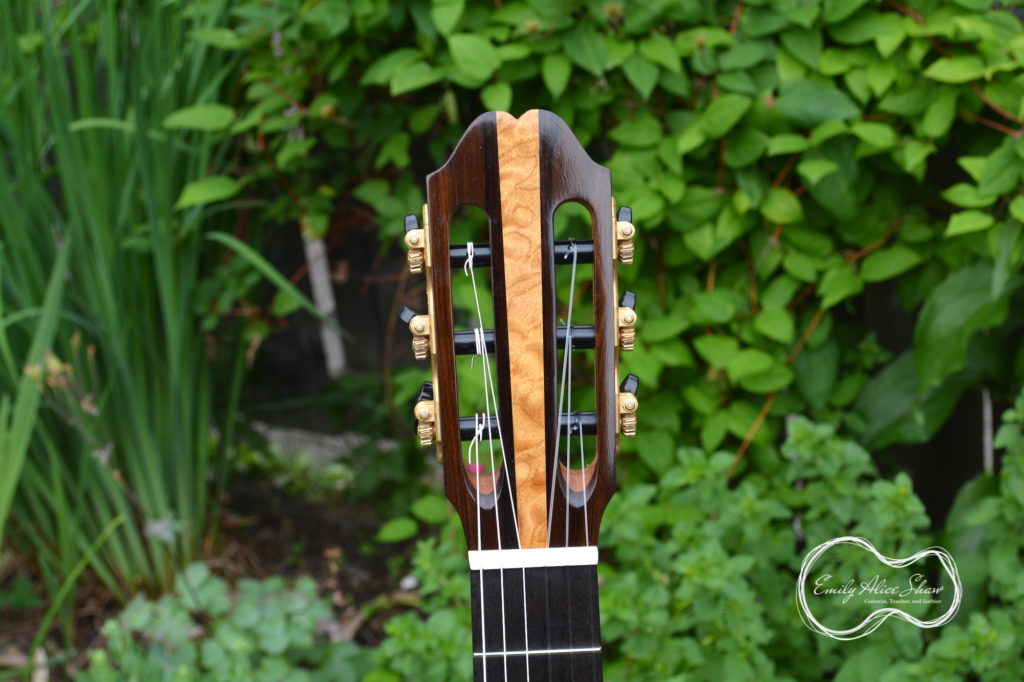
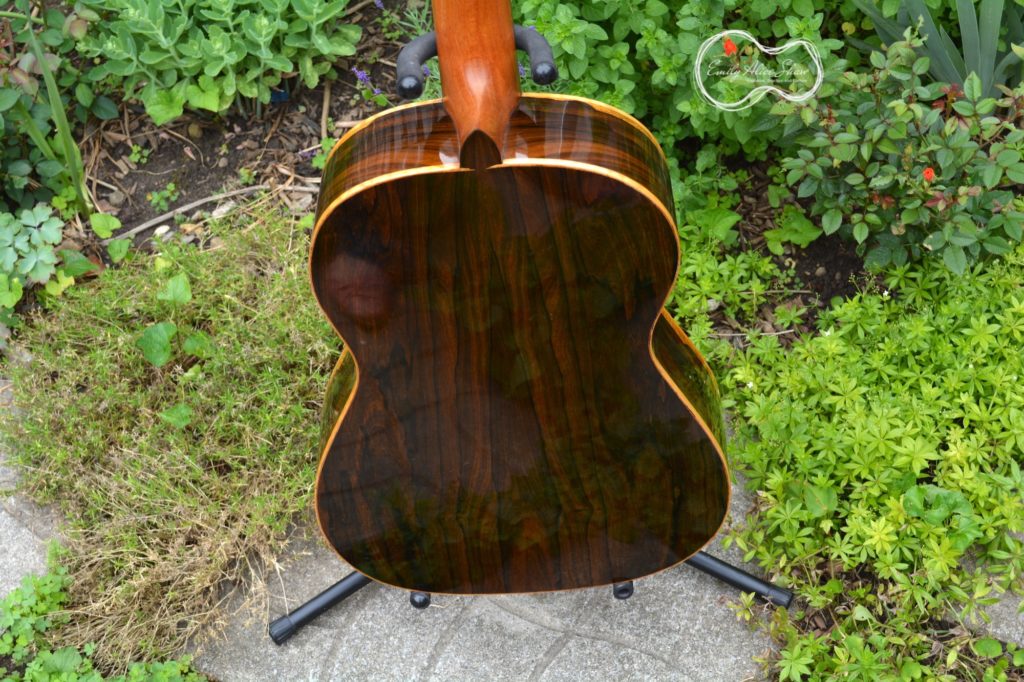
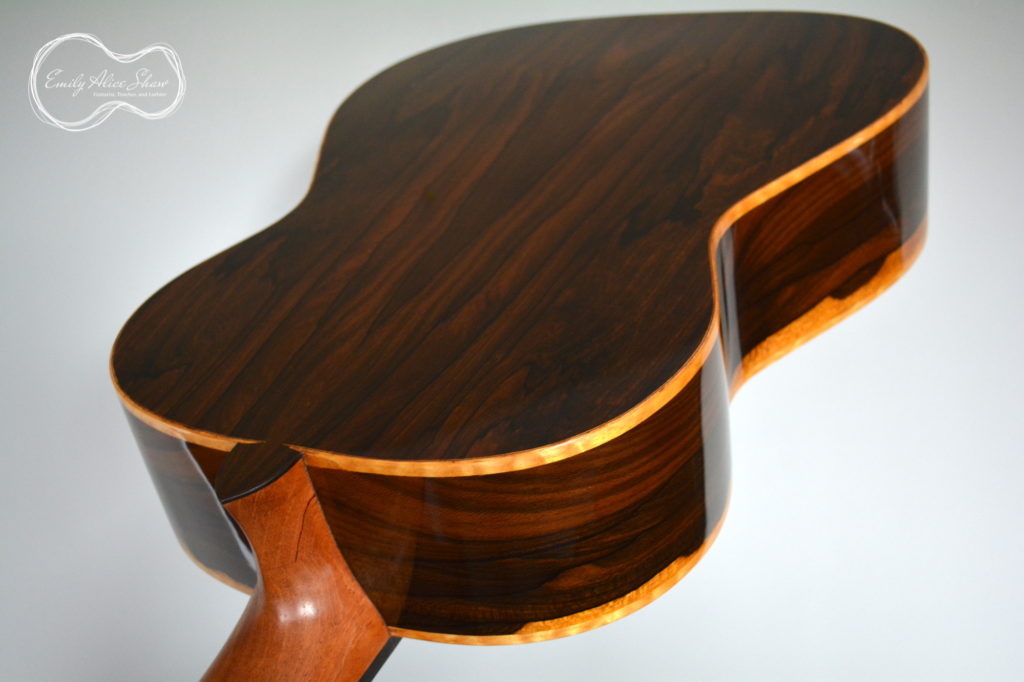

I think that the quilted maple worked well to contrast the dark ziricote, especially on the headstock. I have done this 3 piece headstock veneer on a few guitars now, and I think I might keep this design around for a bit.
Guitar No. 026
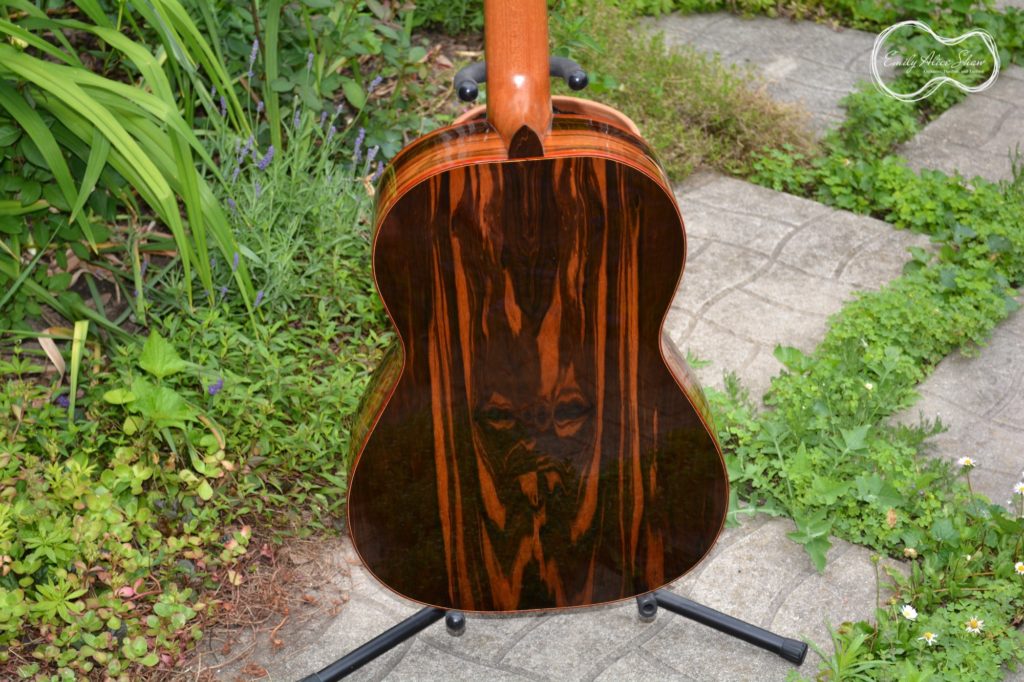
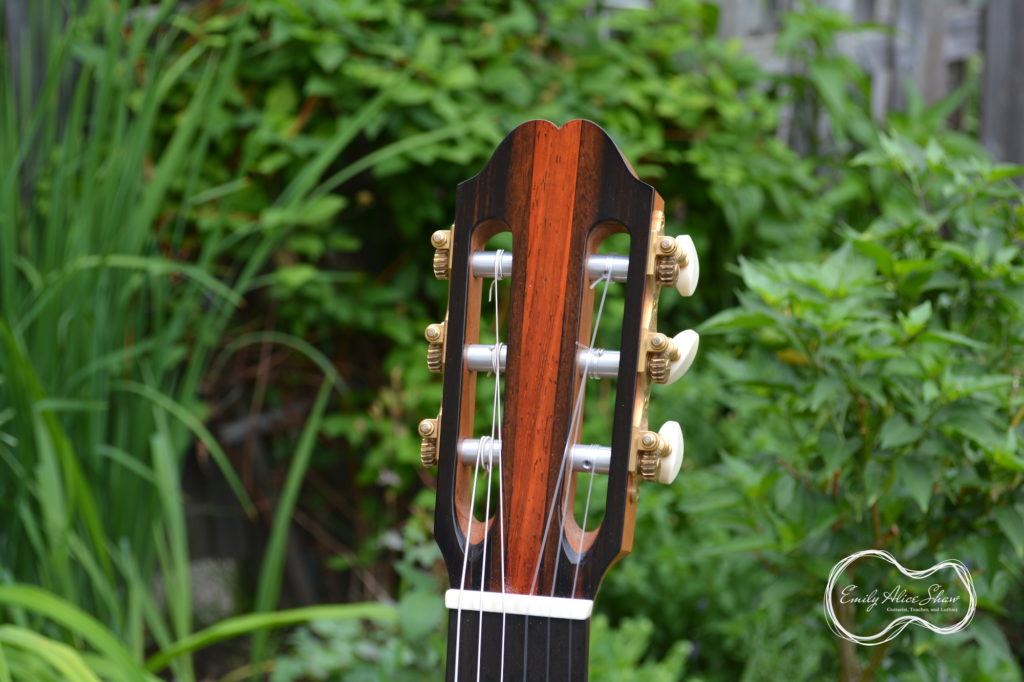
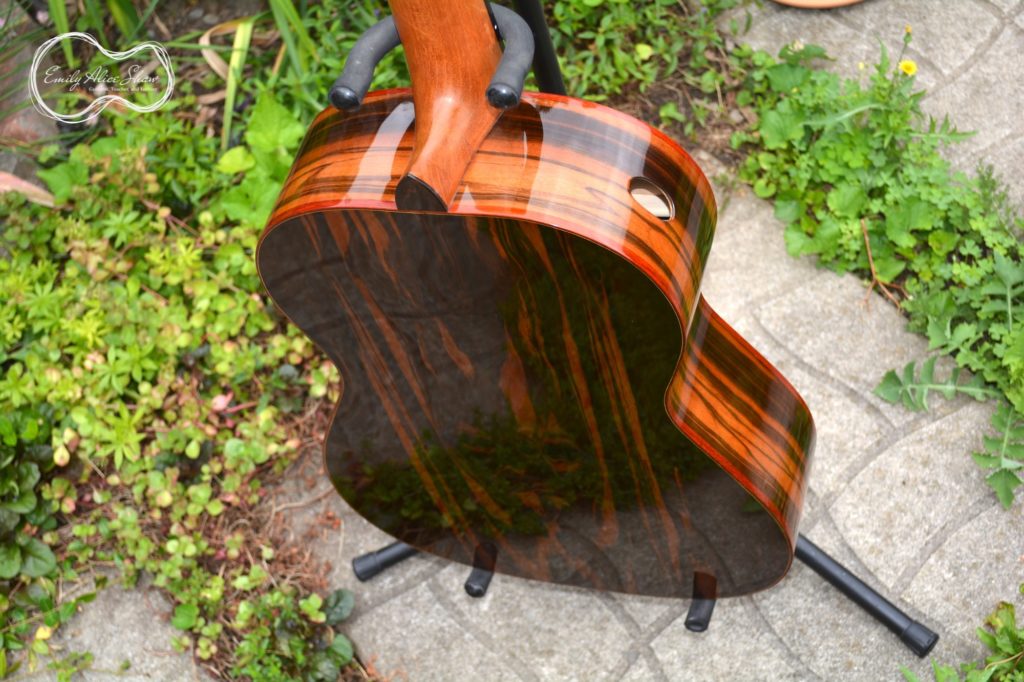
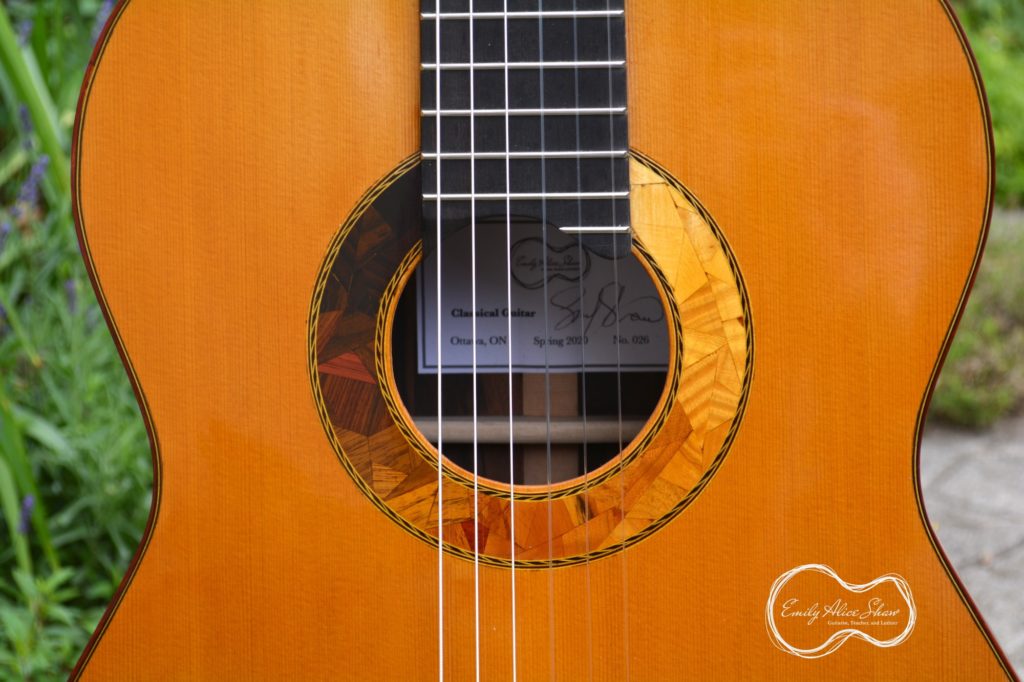
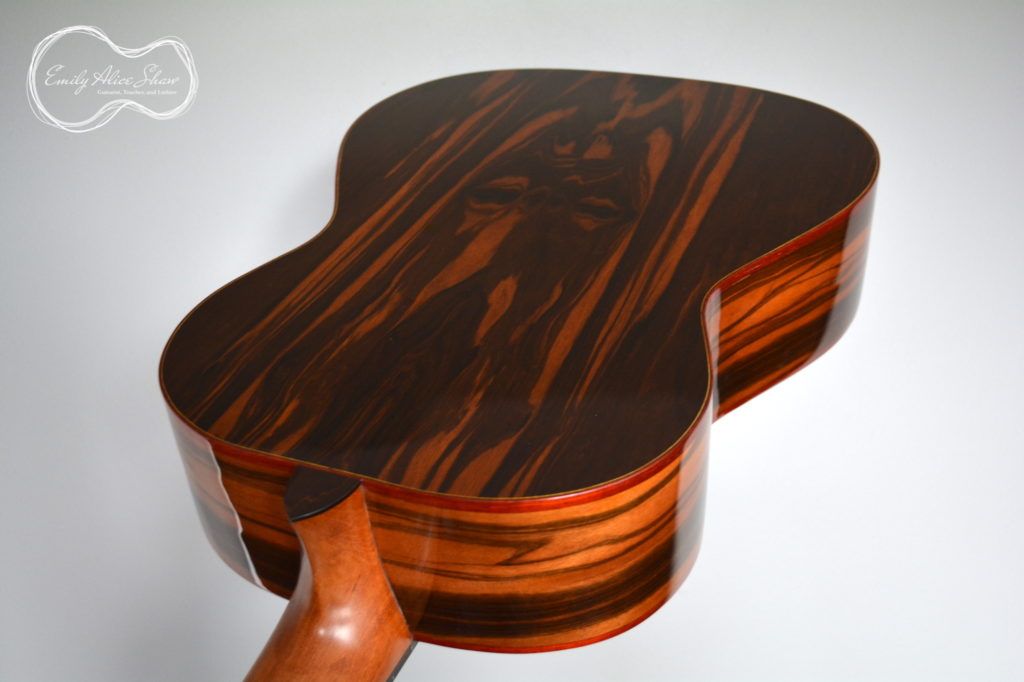
This one has quite a fiery look to it with the grain pattern on the ebony back, the red padauk accent wood, and the golden ombre in the rosette. I was really happy with how this rosette turned out, so I think I might do a variation on this rosette again sometime.
Misc Build Notes
The French polishing went fairly smoothly on these two guitars—I have gradually been developing some skill in this area. I still have some difficulty in tight corners, but have learned not to over-work these areas, so they are improving. I am also better at keeping the colour even across surfaces, although there are still imperfections.
In my last post about these guitars, I wrote about my glue choices for various parts of the guitar build. I used yet another glue to attach the bridge—hot hide glue this time. The bridge gluing went very smoothly as a result of this choice as well as a couple of other things. I bought new bridge clamps (these ones from Lee Valley) and made a new caul to keep the pressure even across the bridge.
I also made some changes to the set up of these guitars. When I was building the guitars I altered the mould slightly to angle the neck slightly forward, which allowed for a better break angle over the saddle. Then, when doing the final shaping of the fingerboard on the guitar, I thinned the bass side more than the treble side so that the saddle could be just about perfectly straight, which allows for an even break angle across all 6 strings. I think this might allow for a more even tone/volume.
Next Projects
Now that I have a clear workbench, I will be starting to build myself a guitar! I started this guitar a couple of months ago when I inlayed the rosette, but I have a lot more to do before it will be playable. I also hope to build a ukulele, a steel string guitar, and perhaps a Baroque guitar over the next year. I have wood for all of these projects, so I would like to make some progress with these instruments! Now that I have AC and a dehumidifier running, I should be able to build consistently through the summer. I’ve also reduced my teaching load, so building can take over a bit more of my schedule.
I also have to finish my ceiling project in the workshop in order to continue in my quest to reduce the dust issue in the workshop.
And, finally, I have more luthier interviews planned for the next year, so you should see another one on the blog soon!
Thanks for reading!
Hey Emily how busy are you….I mean to build me a guitar like delivery
Hi Phil, If you are interested in commissioning a guitar from me, you can always send me an email (emilyshawguitar@gmail.com)
Hello my name is Bill (The Old Guy) and I’m new to guitar building. I noticed on your blog one of your first guitar rosettes was a Torres style that used a thicker green veneer. My question what is or was the supplier of that veneer as I would like to use it in my rosettes.
I appreciate your blog and enjoy the pictures of your fine craftsman (Oh! Oh! another non woke term soon to be hit on)
Thanks Bill
tmmdd31w@yahoo.com
Hi Bill, I normally order my veneers from Bow River Woods (https://www.woodtoworks.com/Pressure-Dyed-Veneer-33-long–Green_p_4399.html), so that is probably where this is from. Sometimes I double up veneers so they look thicker, and sometimes I sand/scrape what I buy down to get something thinner using a drum sanding attachment for my drill press or a scraping set up using a bull-nose plane. Finicky, but worth it. Maybe some day I will learn to cut and dye my own veneers so I can start out with the right thickness!