The last time that I posted pictures of this guitar was a couple of months ago when it was still in many pieces. I have now glued most of those pieces together, with just the bridge and heel-cap left to attach. This has been a long, drawn-out and time consuming build due to all of the detail work (inlays and carvings). I vastly underestimated how long this would take to build, but I think that the end product will be worth it. Hopefully I’ll get better at my estimations of reality by the time I build guitar #100…
Not long after the last post, I closed up the box of this guitar, ending up with something that looked like this:
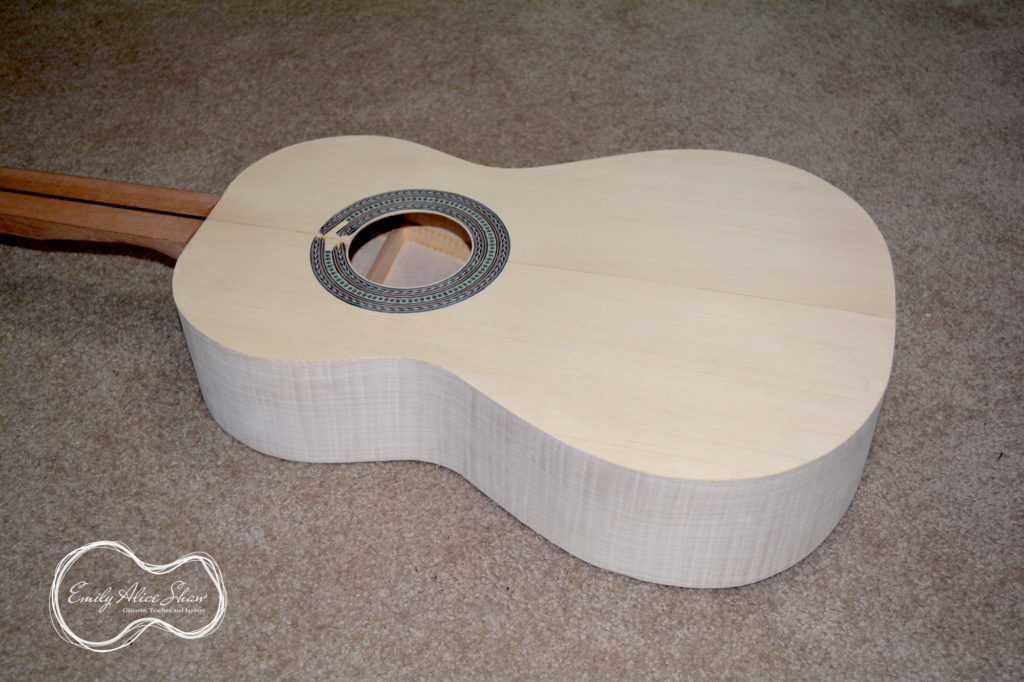
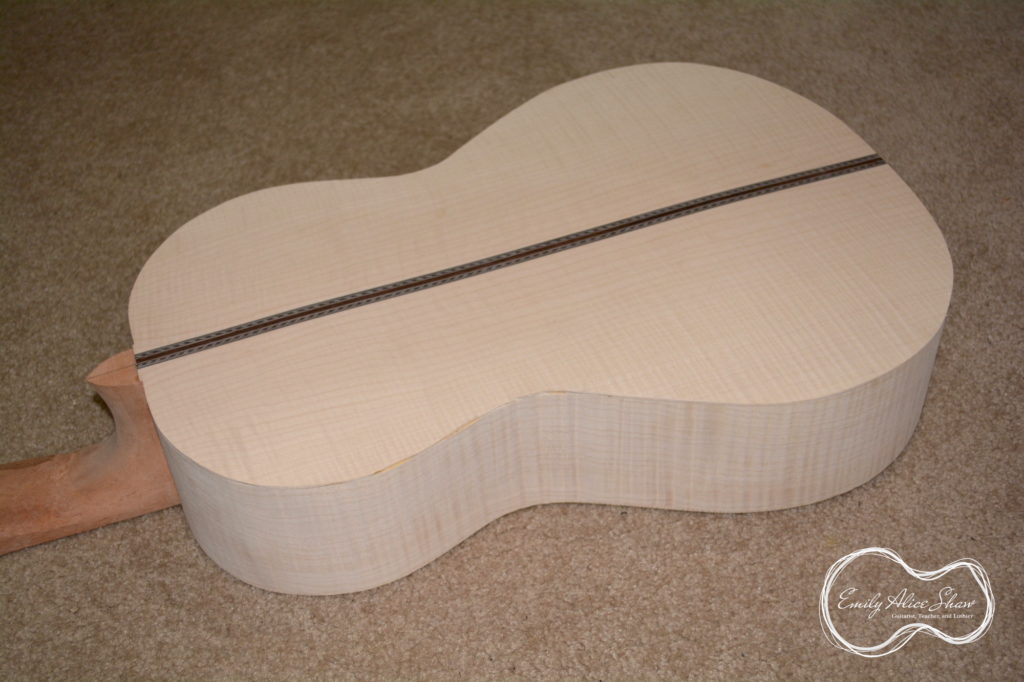
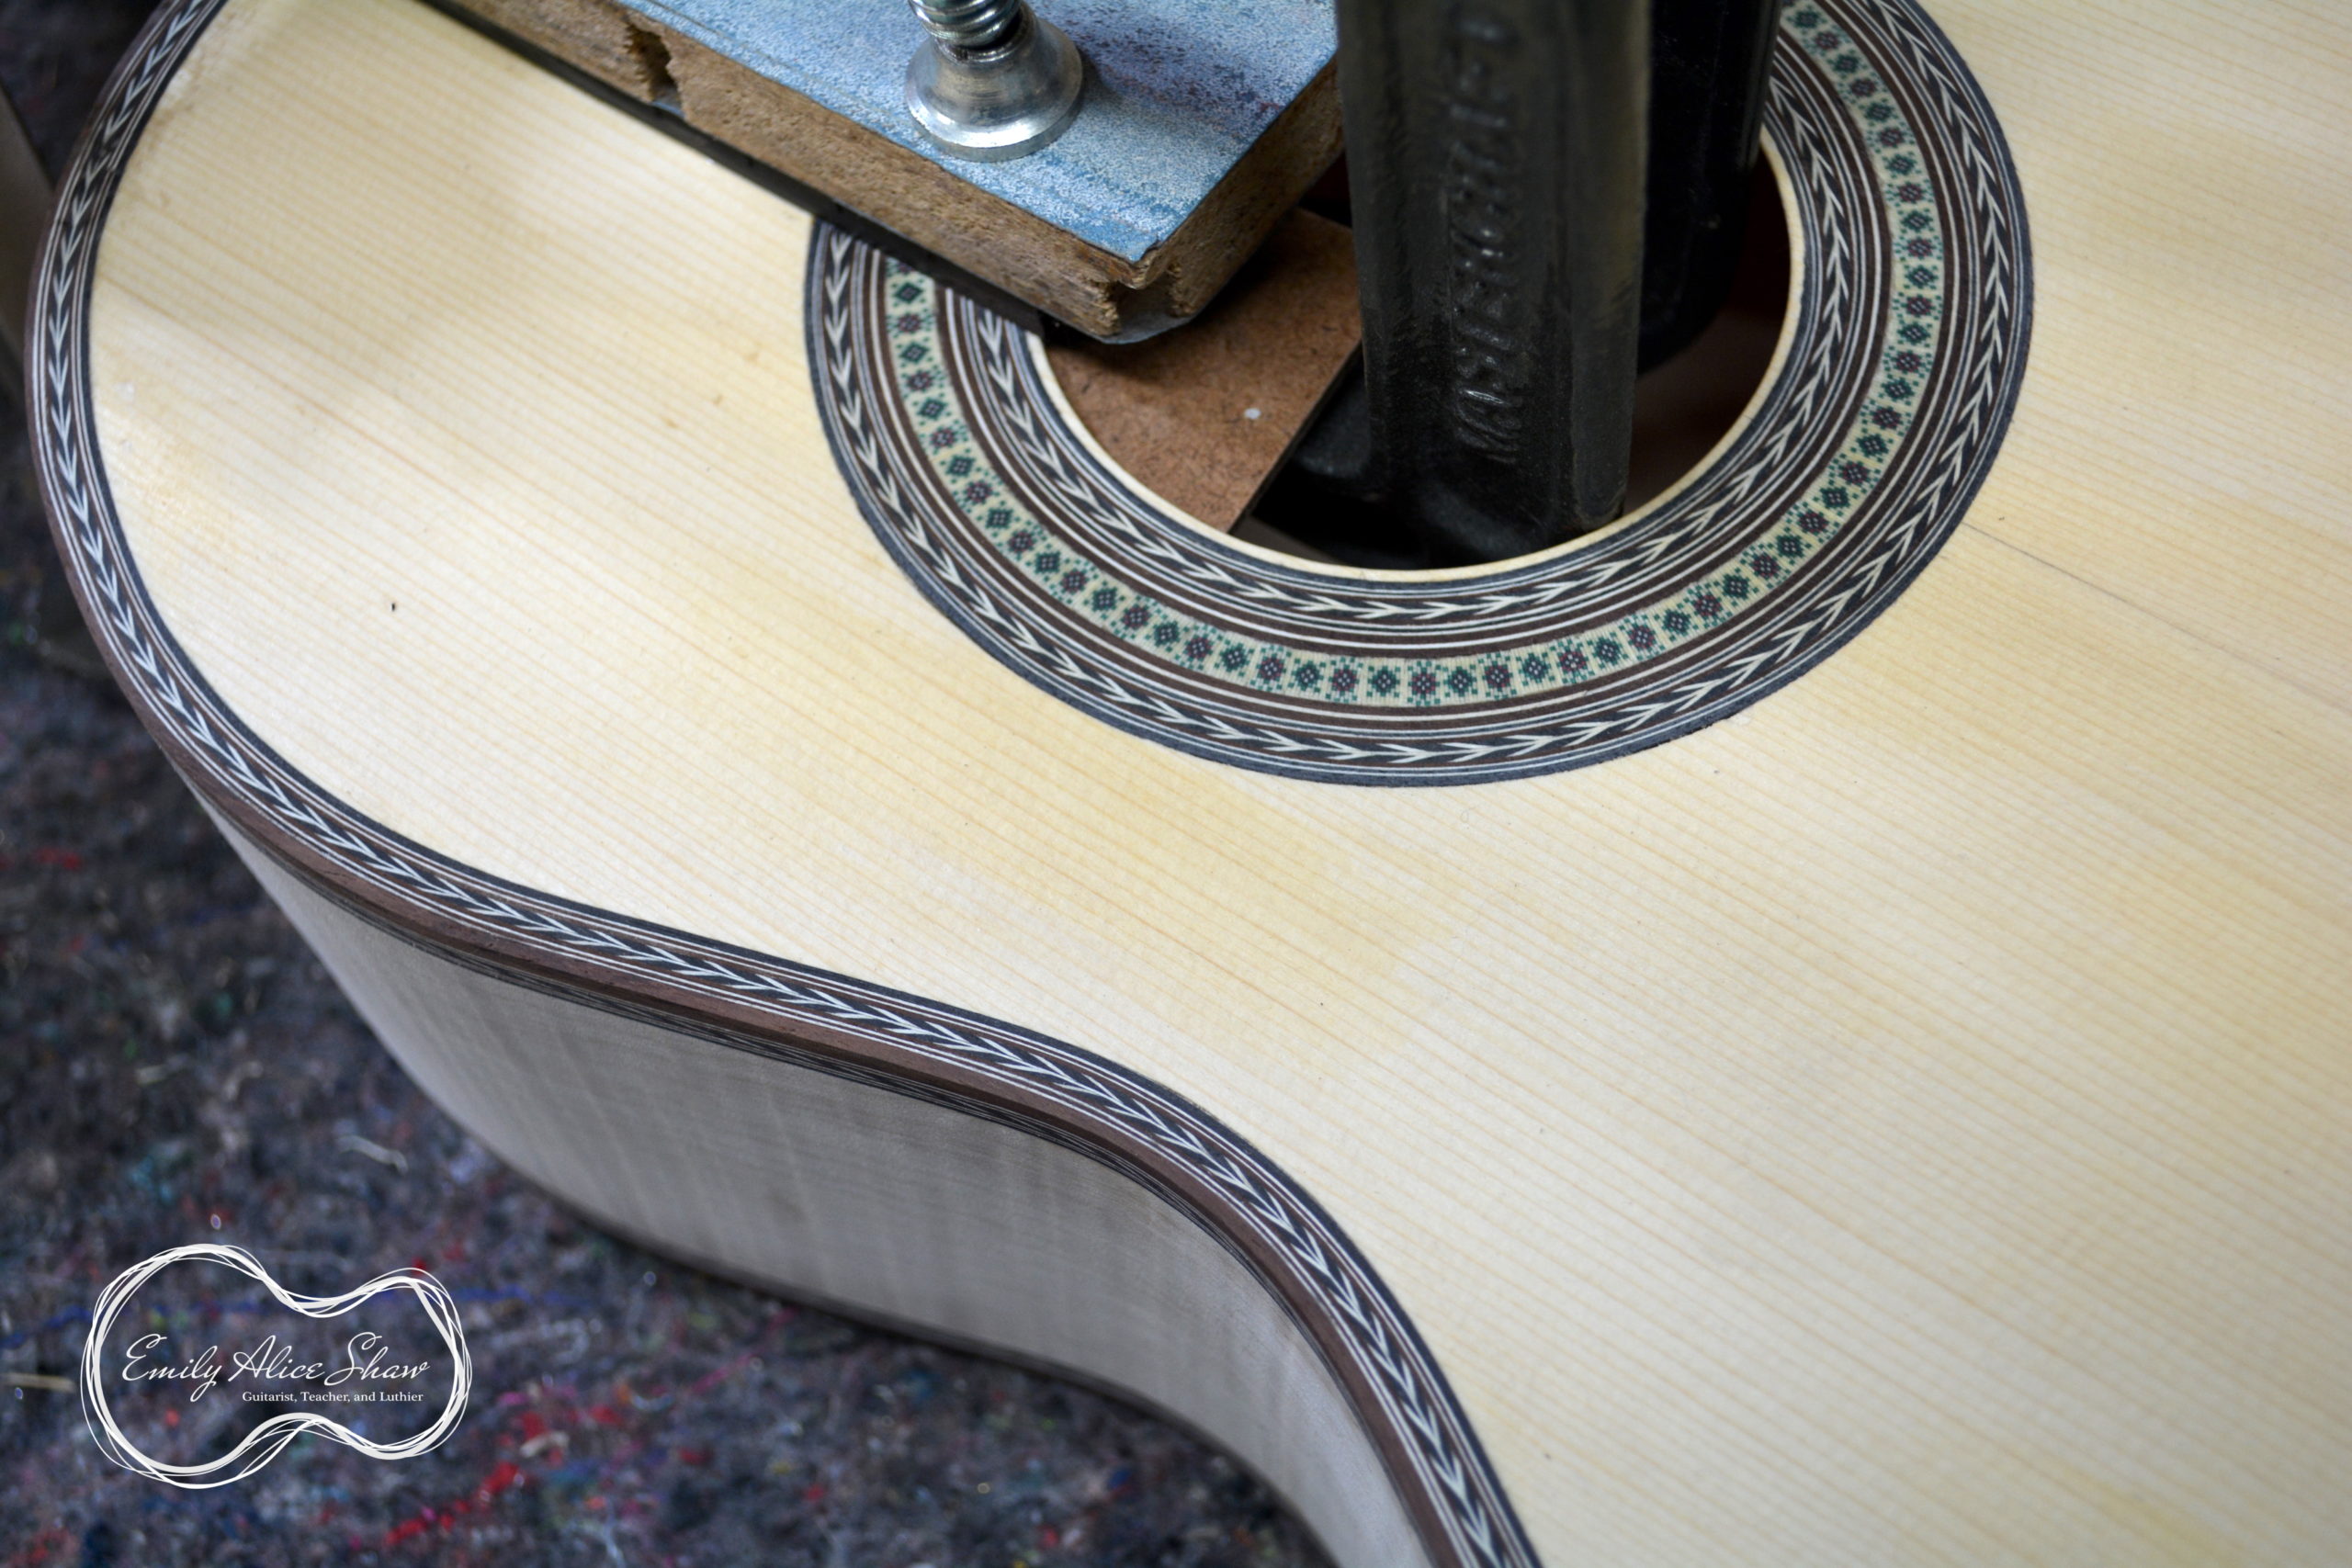
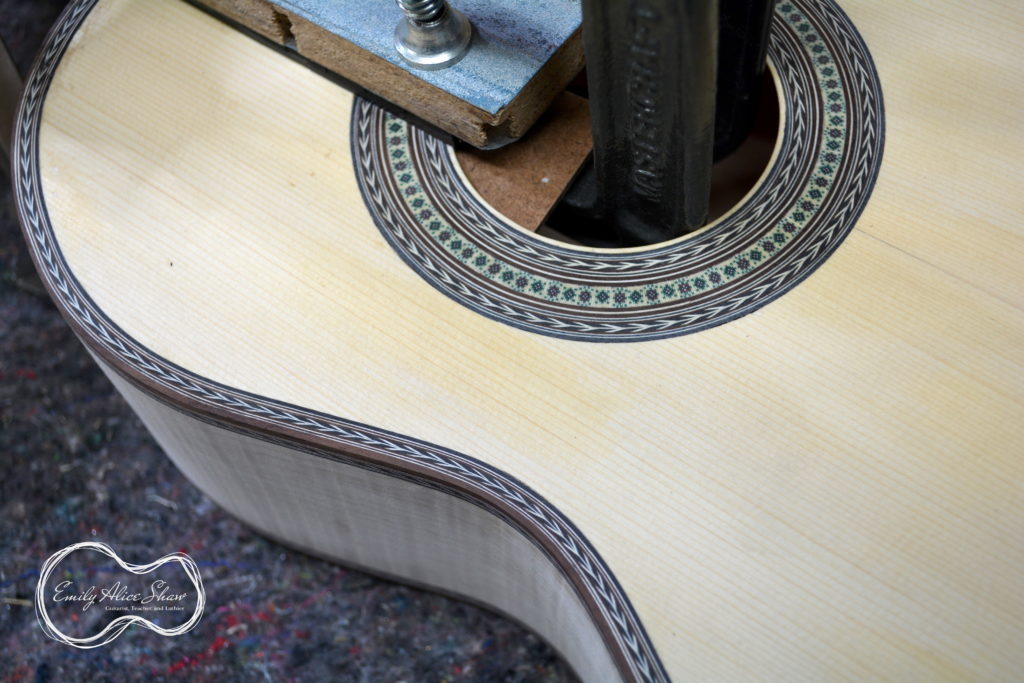
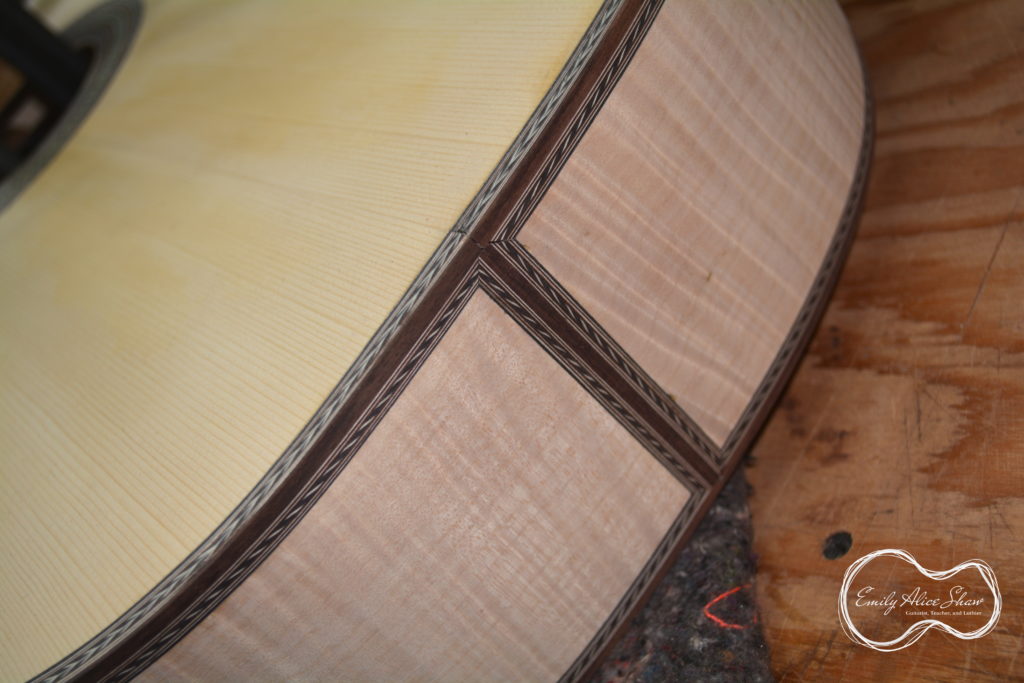
Then I spent a good deal of time preparing the bindings and purflings, using more of the herringbone that I had created for the rosette. I also spent a lot of time slicing and thinning strips of veneer to replicate the Fleta decorations. (You can take a look at the original guitar here).
I decided to try something new to cut out the binding and purfling channels, so I bought a laminate trimmer (small router), and built a jig to guide the cut ledges around the guitar (I followed the plans on J.S. Bogdanovich’s website, which can also be found in his guitar building book.) I might write a post on this process and on the jig another time, but for today, here is what I ended up with for purfling and binding:
Some clean-up/filling left, but I think it is looking pretty good! One other new thing that I tried this time around was using fish glue for the binding/purfling glue-up. This was a great idea in many ways (mostly fish glue has an open time of ~90 minutes and is reversible with heat if something goes wrong), and a pain in others (fish glue is incredibly sticky—I had to wash my fingers constantly and still managed to get it in my hair. Think xmas tree sap and Christmas Vacation).
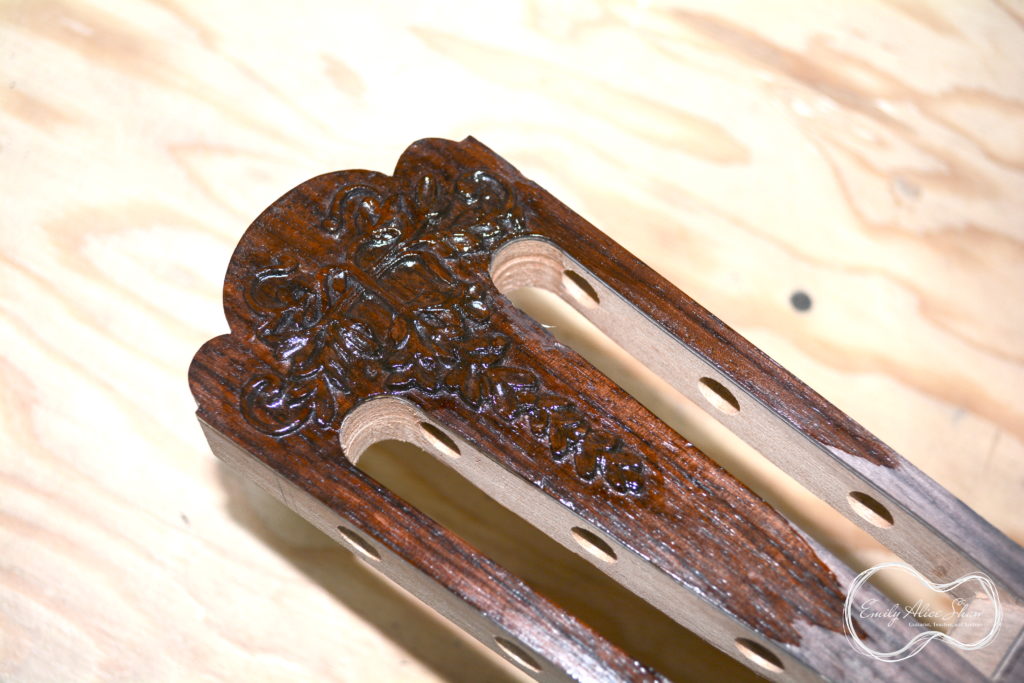
With the body ornaments mostly complete, I took about 10 days off over the holidays and then returned to work on the intricate headstock carving. While my version of the floral/vine motive is not exactly the same as the original, I think it turned out pretty well and is similar enough to Fleta’s work to be recognizable. I used an assortment of chisels, knives, sandpaper, and my dremel tool to remove all of the wood that wasn’t needed in the design and was left with something that is definitely easier to appreciate in person than in a picture. I also put a couple of quick coats of shellac on the carving before taking this picture so that I would be able to see what it might look like finished. Some work left, but here’s what it looks like today:
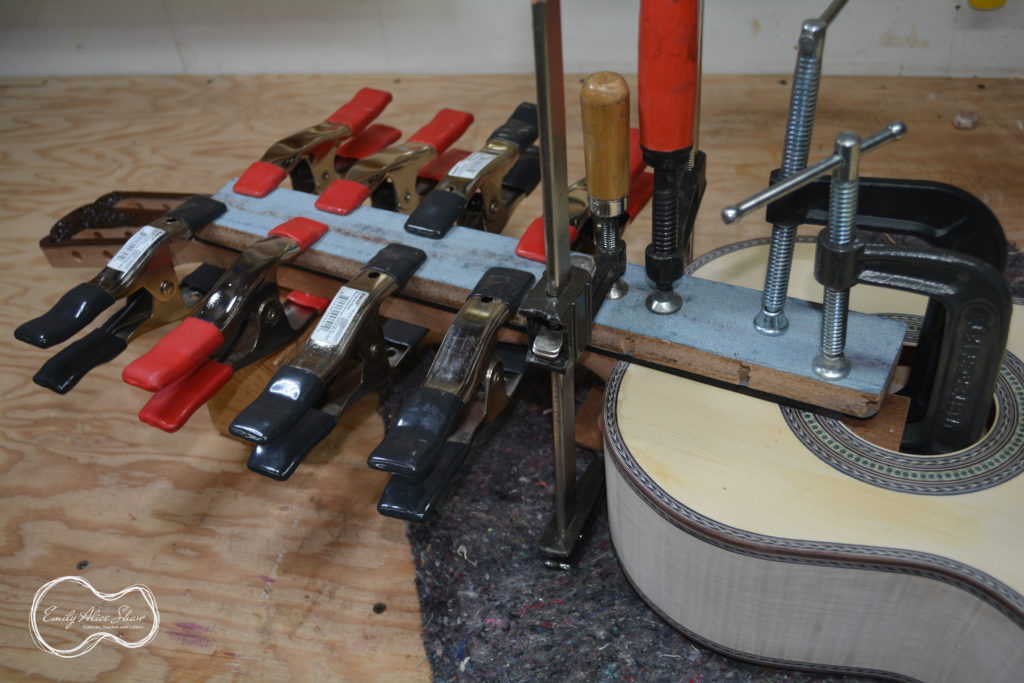
And now, as you may have noticed in a picture above, I have the fingerboard clamped to the neck and am waiting for glue to dry before I take on the next stage this Thursday. Nothing much to say here, other than “check out my new collection of spring clamps!” and that I used fish glue for this joint as well so that it is easier to repair if that is ever required. This neck has a carbon rod down the centre, so it should stay fairly straight, but most guitars require some work at some point if they stick around long enough before becoming shelves or firewood.
The next time I post here, this guitar will be all finished! Can’t wait to see what it looks like with a nice amber-toned shellac (I’ll try to match the warm, aged finish of the original Fleta), and of course, what it sounds like all strung up!
(oh, and Happy New Year!)
Emily: You are so very accomplished. Thanks for sharing these latest achievements. I’m impressed. All the best to you!
Tom Snowdon
Thanks Tom!